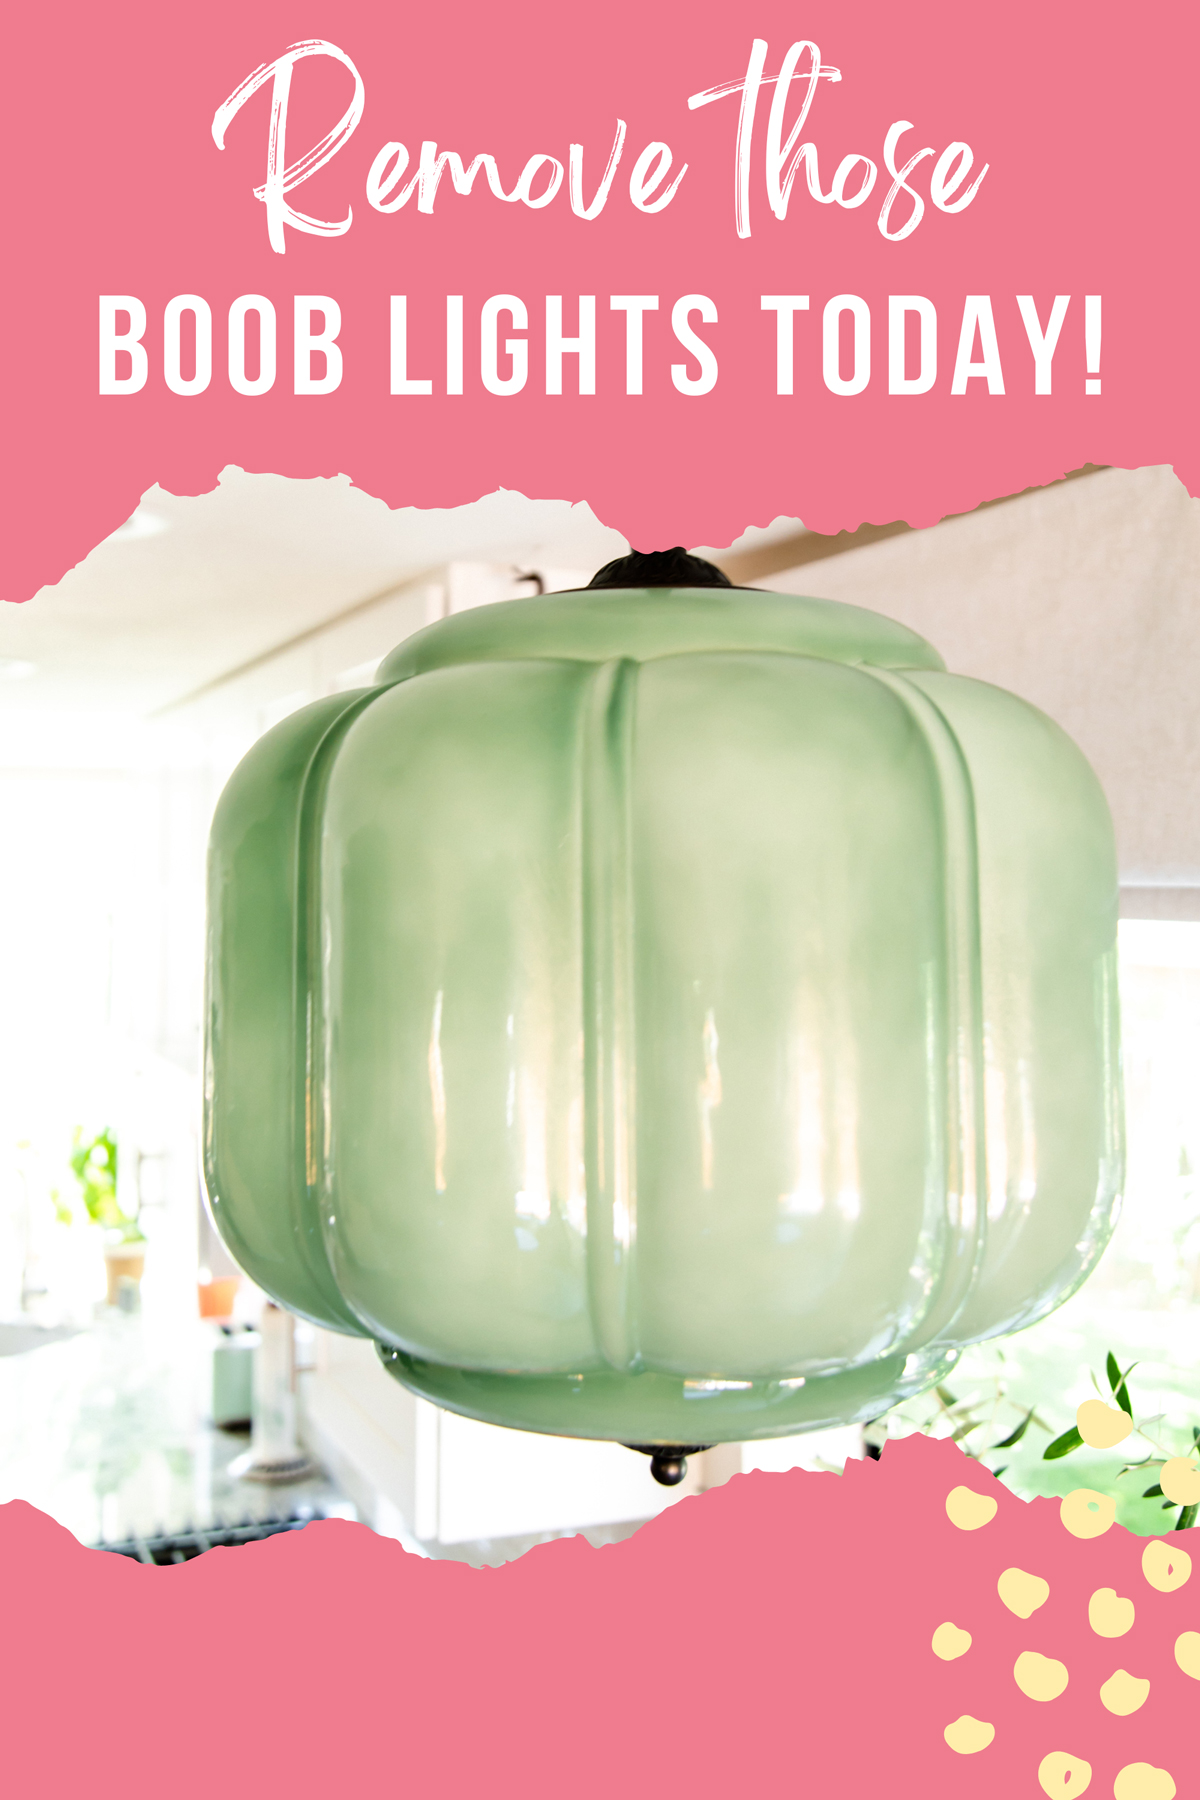
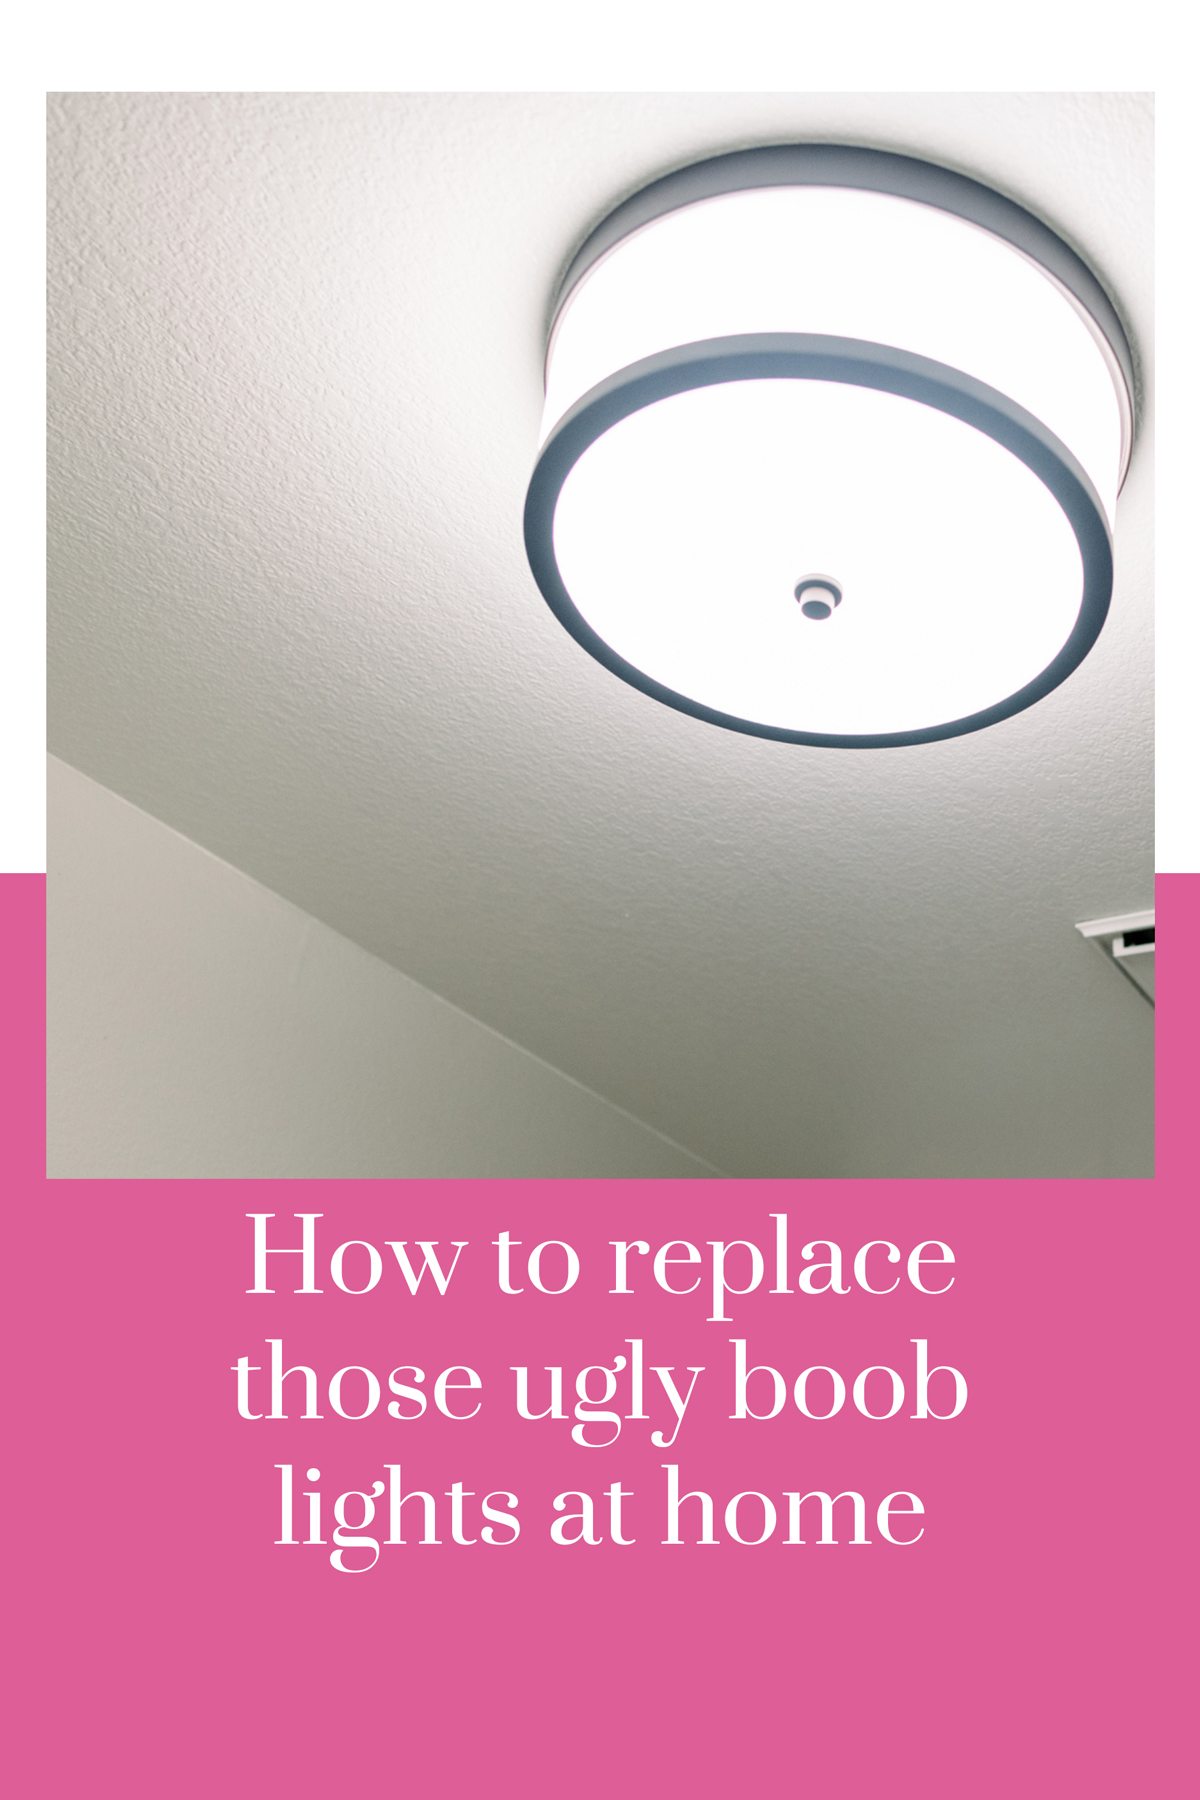
Inside: Best boob light replacement ideas: How to remove them and what to replace them with.
It’s time to shed light on an important issue: the light. Do you have a boob light in your home? Chances are you do. Boob lights are standard in American homes due to their affordable pricing.
But let’s be honest: Boob lights are old-fashioned and down-right indecent to look at.
If there is one thing you need to do, it’s pick a better light. It’s finally time that you go about replacing boob lights in your home.
There are many affordable options nowadays that you can choose from instead of boob lights. Replacing boob lights is no longer complicated or expensive. Whether you’re renovating your house, upgrading the lighting, or just wanting to replace boob lights, we can help.
We will inform you how to replace boob lights and what you can replace them with. Don’t worry; we won’t leave you or your boob lights hanging. 😉
Boob Light Replacement: 7 Step Guide
Removing boob lights is easy. You can do it yourself and do not need to hire an expensive electrician to do the job for you. Boob lights don’t have a complex design, so you can follow seven easy steps to do it.
After this, you are going to question why it took you so long to take that horrendous fixture down in the first place!
Step 1: Choosing a Boob Light Replacement
Before replacing boob lights, choose what you want to replace them with. There’s no point taking it off and then staying in the dark wondering what to do now. You can choose from many options, and we’ll discuss these options later on.
So stay tuned for that.
Step 2: Opening the Finial for Boob Light Replacement
The finial is the small nob in the middle of the boob light. The finial acts like a nut, keeping the shade of the boob light in place. You need to twist the nob, and you’ll be able to take the shade off. If your boob light does not have a finial, then turn it and remove the shade.
Pretty simple so far, right?
Step 3: Opening the Fixture
Once you’ve removed the shade, you will see an outer ring of the fixture screwed into the ceiling. Using a screwdriver or a drill, remove the screws, and the fixture will drop, hanging freely. You’ll be able to see wires hanging out.
Be sure to turn off the power supply before you do this step. The last thing you want is for your boob light to fight back, so make sure to not miss this step.
Step 4: Disconnect the Wires
Once the fixture is left hanging, you will see three wires. The live black wire, the white neutral wire, and the copper ground wire. Disconnect each of them from their counterparts. Make sure you are holding the fixture because once the wires get disconnected, the fixture will drop.
You are going to feel like your own electrician at this point, how cool is that? The internet is a wonderful place.
Step 5: Install a New Bracket
When you buy a replacement light, you will get a bracket. Screw the bracket into the screw holes in the ceiling. Try choosing a light with the same-sized bracket. Or you could always make new screw holes in the ceiling.
This is up to you and your styling needs. But it will be easier if you choose the same-sized bracket. Don’t stress though, this is your space after all. A little extra work is worth it for the end result you desire.
Step 6: Piece it All Together
Once the bracket is secured in position, attach the wires. First, attach the live wire, then the neutral, and finally, the ground wire. If the new fixture does not have exposed wires to connect to, take a plier and scrape off some of the insultations at the ends.
Read the instructions on the package on how to attach the shade. This is a very important step, so make sure you follow your instructions closely.
Step 7: Let it Shine
You’re all done. Your boob light is no more! Now you can flip the switch and let the light shine through the entire area. Aren’t you happy to be rid of that eyesore?
Boob Light Replacement Options to Choose From
There are many options that you can choose from when replacing boob lights. The critical thing to remember when replacing boob lights is to know what kind of light suits your house.
Another essential thing to remember is to choose the same replacement lights for all boob lights. You don’t want your home to look like a retail store for light fixtures!
Flush Mount Lights
Flush mount lights sit entirely flush with the ceiling, meaning there is no gap between the light fixture and the ceiling. Flush mount lights are a great choice if you have low ceilings and prefer that your house doesn’t look too compact.
Flush mount lights come in many designs and are versatile enough to go with any aesthetic or budget. You can choose flush mount lights made of metal, wood, or plastic.
Semi-Flush Mount Lights
Semi-flush mount lights hang a few inches below the ceiling. Although it means losing some ceiling space, they make your house look glamorous. They are a great alternative if you wanted a pendant light, but it wouldn’t fit. They also give more light than flush mountain lights.
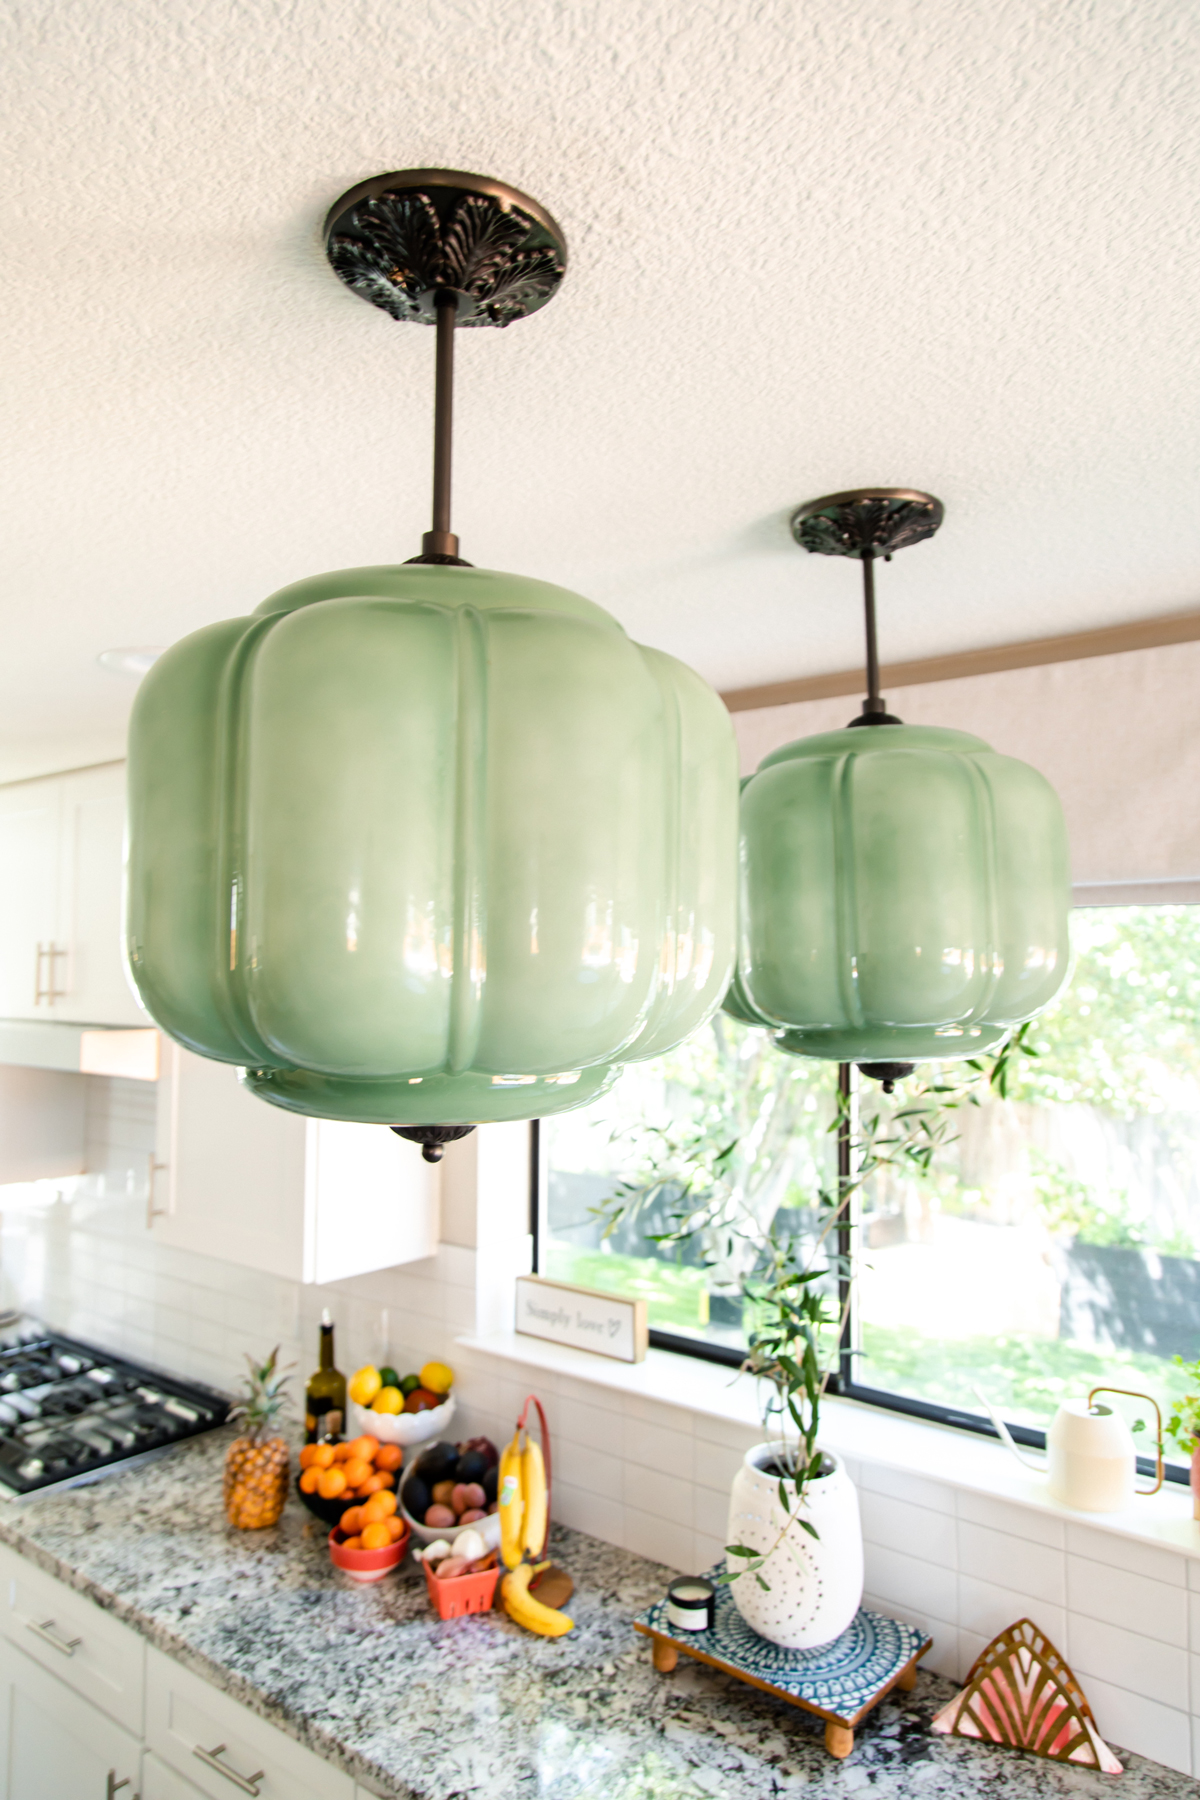
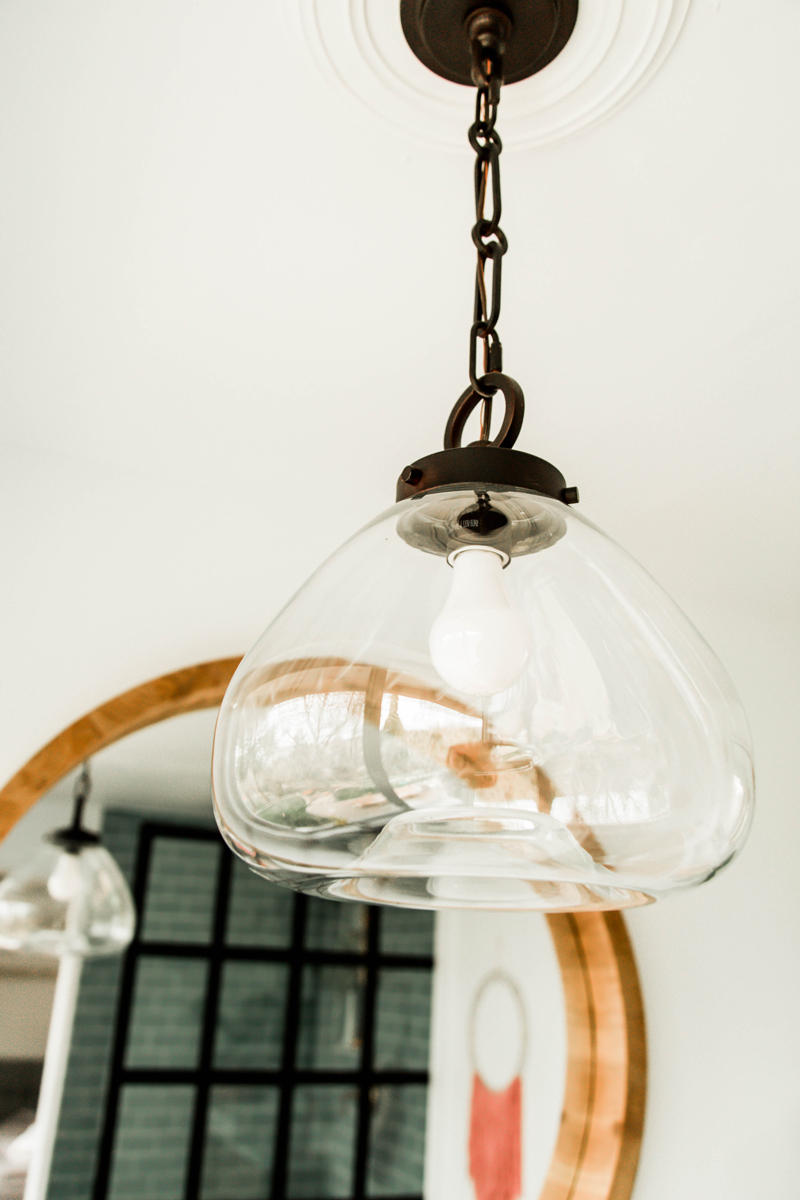
Pendant Lights
Pendant lights hang from the ceiling like pendants, hence the name. I adore my vintage green glass pendants in the kitchen and love referring to them as the earrings of the space.
They are great for providing focused light. However, you will need a high ceiling for these lights to work. A pendant light on a low ceiling doesn’t look good, and you’ll have to duck every time you pass the area. You might as well keep the boob light.
Recessed Lights
Recessed lights are all the rage right now. Recessed lights are a great option if you have a low ceiling and want a spotlight. Recessed lights sit snugly in a hole in the ceiling. They do not bulk up the ceiling and provide a downlight, making the room feel airier and more open.
Light Shades
Light shades can give your house the glamour it was missing. These lights look chic and elegant while being affordable. They come in a wide variety of shapes, designs, and colors. You can attach shade lights using zip ties, directly hanging from the ceiling, or screwed into the ceiling.
Should You Replace Your Ugly Light Fixtures?
Replacing boob lights is no longer a choice. It’s a must in my book! We’ve replaced lights in every house we’ve been in and it immediately makes such a difference.
Boob lights are inappropriate, old-fashioned, and unpleasant. You do not need to hire a professional to replace boob lights, so there is no excuse.
Once you know the steps you need to follow, it is simple and easy to do. There are also various easy-to-install options you can choose from. So, I hope you loved this article on boob light replacement ideas!
If you are finished with this project and are on to the next but need some inspiration on which direction to go in, why not check out my Ikea pantry hack? You are going to love this DIY.
I had no idea it was so easy to replace the boob light. Your steps were easy to follow and now my bathroom is looking brand new! Thank you for sharing
Thank you for this detailed guide! I never thought replacing a boob light could be so straightforward. Your step-by-step approach really helps demystify the process. Can’t wait to tackle this project myself!
Great post! I never thought replacing a boob light could be so straightforward. Thanks for breaking it down into easy steps—I’m definitely going to give this a try!
Great post! I found the step-by-step guide super helpful and easy to follow. I’ve been putting off replacing my boob light for too long, but now I feel ready to tackle it. Thanks for sharing the tips!
Thank you for this guide! I’ve been hesitant to tackle my boob light replacement, but your step-by-step approach makes it seem much more manageable. Can’t wait to give it a try!
Great guide! I never thought replacing a boob light could be so straightforward. The step-by-step instructions were super helpful. Can’t wait to try this in my own home!