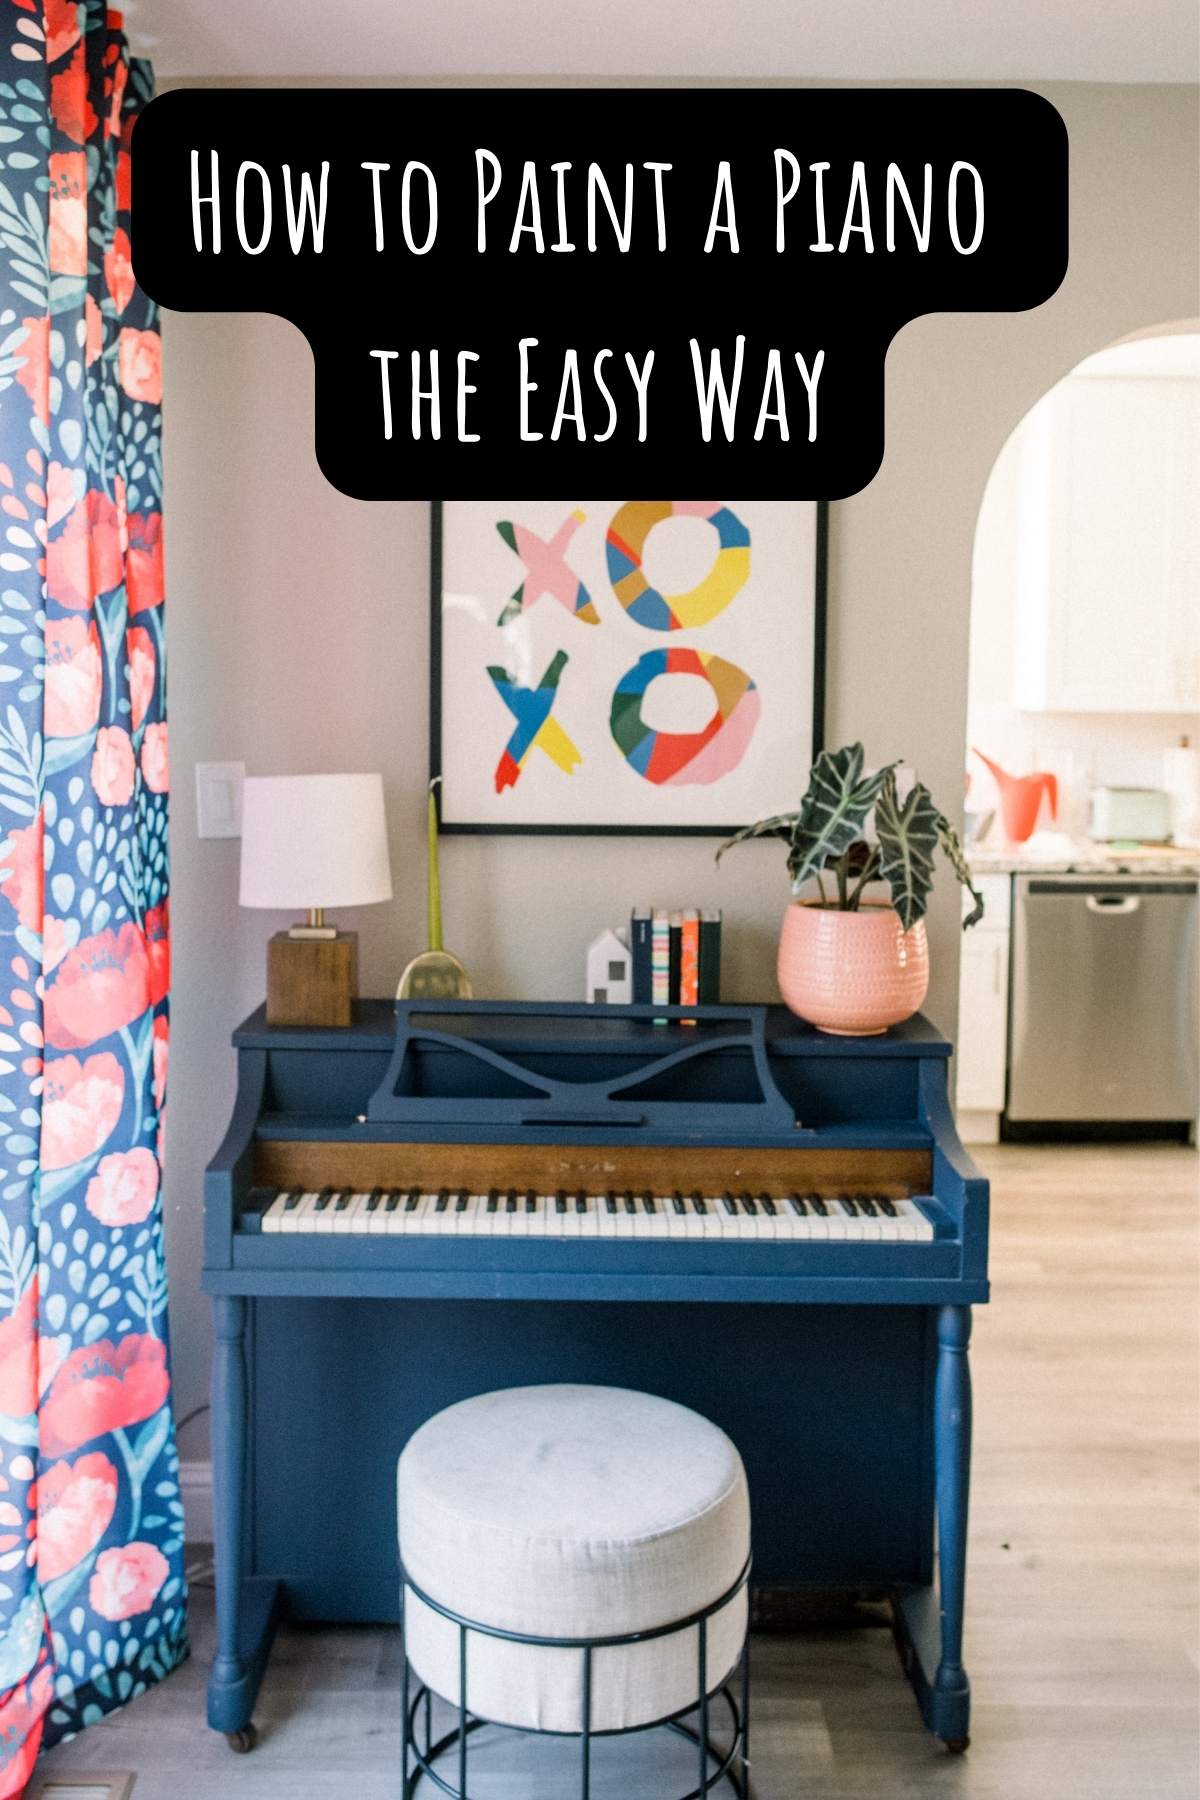
Inside: How to paint a piano in 6 easy steps
If you are sick and tired of your big, old brown piano sucking the charm right out of your living room, then you have come to the right place. Close your eyes and just imagine how amazing your piano will look when you ditch its boring brown and breathe life into it with a pop of new cheery color.
Teal, mustard, emerald green, turquoise – sky is the limit!
Painting your piano is a simple, pocket-friendly way to restyle and refresh the ambiance of your home. With some basic tools and a tad bit of patience, your piano can be transformed into a stunning statement piece that can last generations.
If you are all keyed up, don’t be! Think, what’s the worst that can go wrong?
If you look up ” how to paint a piano” on Google, you’ll probably be flooded with a myriad of different methods and recommendations, making you feel overwhelmed; but fret not. There is a way to do this that would pass the most stringent orchestra standards. And then there is the EASY WAY which doesn’t ruin your piano at all and makes for a quick brightening up project!
This step-by-step guide on how to paint a piano will teach you how to prep, paint and transform your furniture piece the best way we know.
So, roll your sleeves up and get started.
How to Paint A Piano in 3 Simple Steps
Estimate time: 2 days to 1 week
Before You Begin
Moving with the assumption that this is your first-ever piano paint crackdown, you most likely won’t have the appropriate tools required for the job. Therefore, before you start painting, be sure you have all the right supplies for the DIY project.
After all, you wouldn’t want to end up with a damaged piano, would you? That’s a silly question, of course, you don’t.
That’s probably your #1 fear with this project.
But fear not, if you have the right tools and follow along closely, you will be completely fine, and your piano will to.
Basic Tools & Materials You’ll Need
- Soap
- Water
- Rags
- Painter tape
- Drop cloths
- Sandpaper
- Primer
- Paint brushes (different sizes)
- Paint (glossy, matte, chalkboard)
- Wax
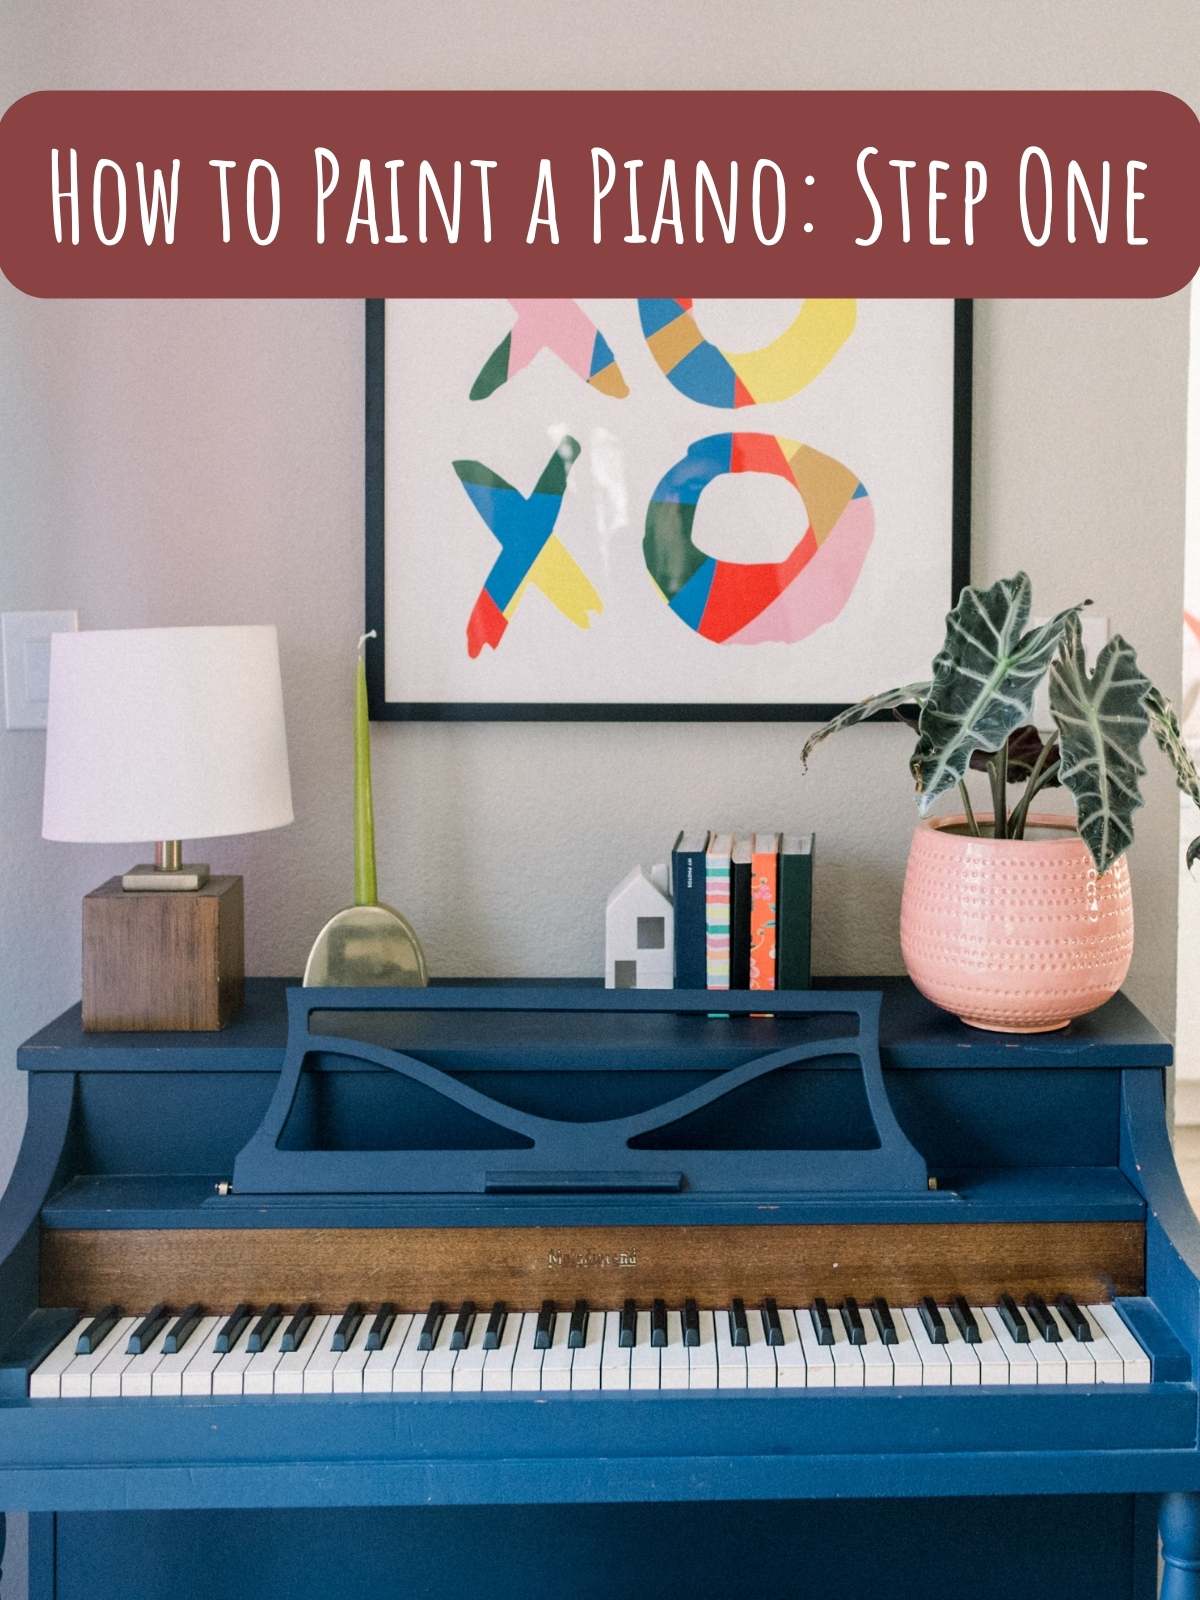
How to Paint a Piano: Step #1 – Clean, Prep & Prime
1. The first in painting your piano is to clean it with water, soap, and rags. If you don’t, the paint will trap the grime.
Our piano was a gift and not perfectly cleaned so I did this the weekend before and allowed everything to dry.
2. Next, lay strips of painter’s tape across the piano keys to protect it from stray drops of paint.
You can even tape the pedals if you’re unable to remove them.
I left the pedals natural as well as the fall board behind the keys, just because I thought it added a fun vintage flair to the project.
3. Then, open the instrument and throw a drop cloth above and around the inner workings. Use painter’s tape to secure the cloth in its place.
4. Spread drop cloths on the surrounding floor and beneath the piano. Better yet, consider moving the piano to your garage or outdoor space to minimize the possibility of accidentally painting your floors or walls.
5. Using a fine grit sandpaper, remove the piano’s high gloss finish.
Wipe off the furniture’s surface with a dry cloth to remove all sanding dust. Be advised that if your piano doesn’t have a high gloss finish, you don’t necessarily have to sand it down unless you wish to entirely change the piano’s finish, we didn’t!
6. Finally, apply a generous layer of primer on the piano’s surface. Wait for the primer to dry before moving to the next step. Also, note that some paints don’t require primer.
Therefore, be sure to talk to the store manager regarding whether the piano needs priming or not.
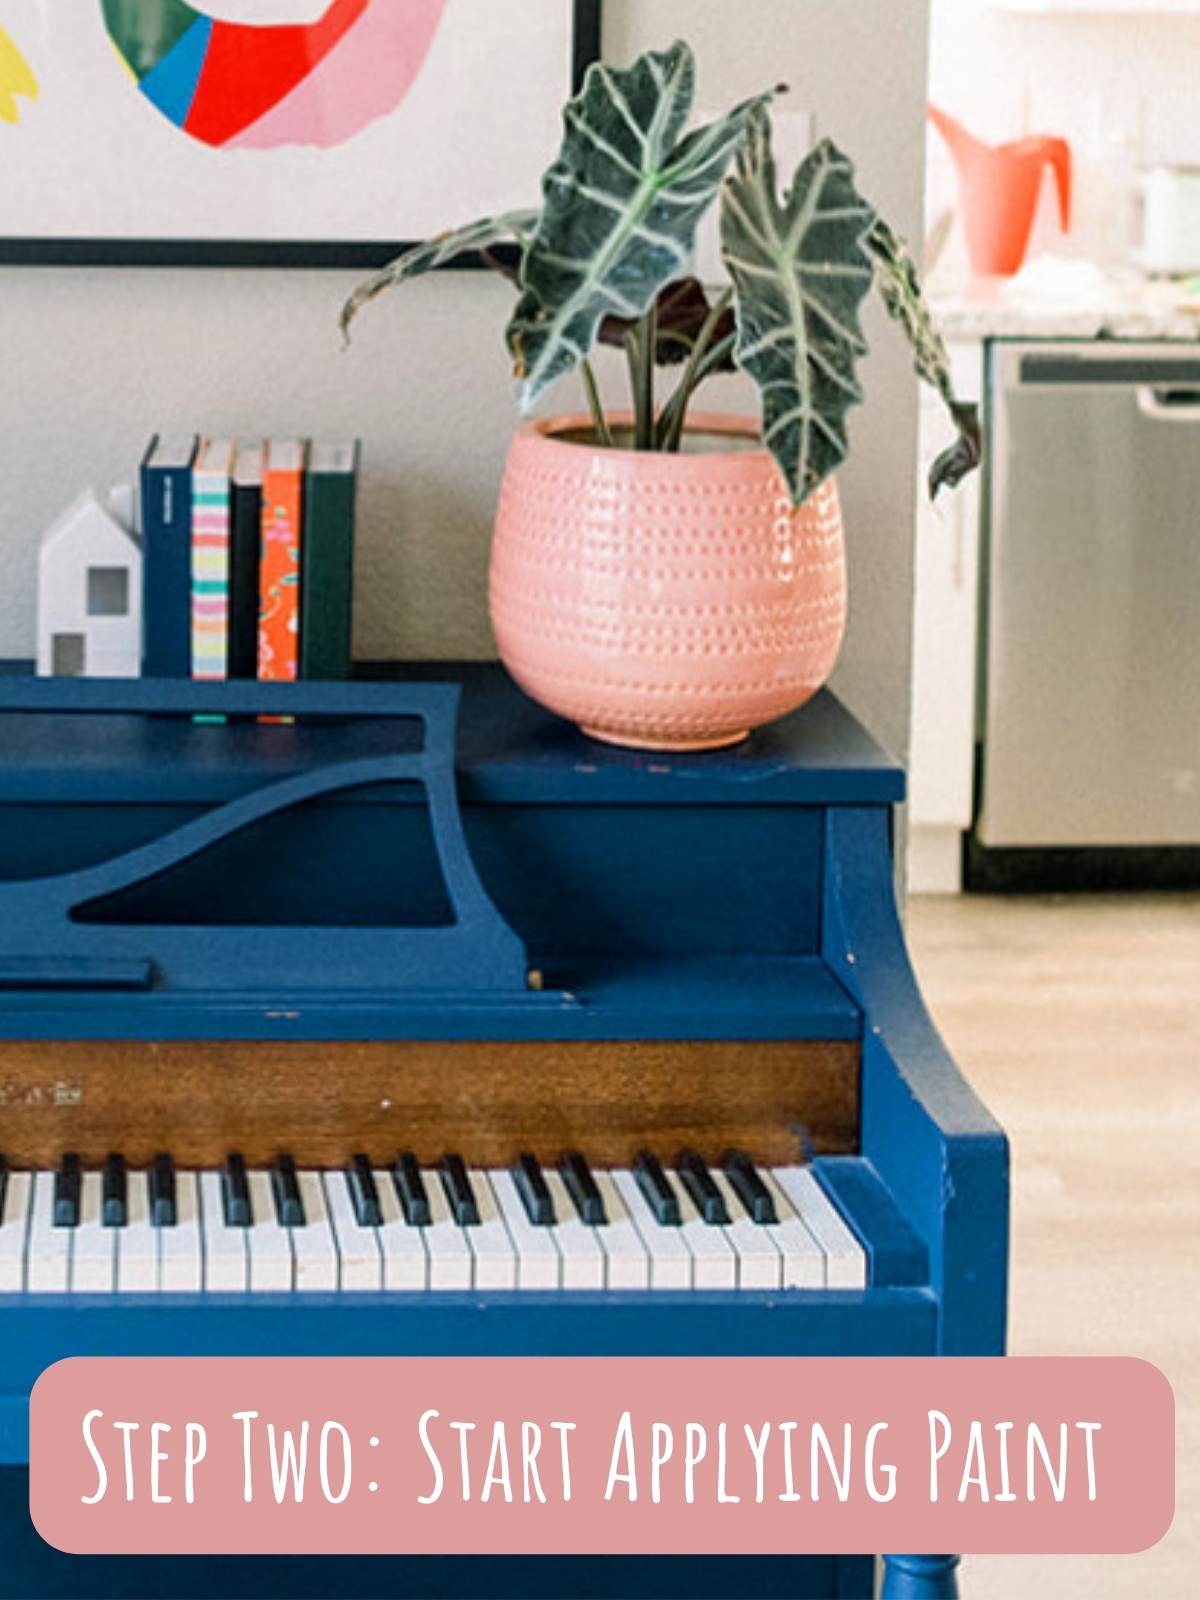
Step #2 – Start Applying Paint
1. Buy two large cans of your preferred paint. Use a gloss paint if you want a glossier and shiny finish. For a matte piano, go with an eggshell or matte paint. Semi-gloss paint is also an available option for people who want a piano that’s not too matte or glossy.
If you’re feeling extra adventurous, consider using chalkboard paint for the project. Chalkboard paint gives a neat, matte look while allowing you to draw on the piano’s surface.
2. Using a wide paint brush, begin evenly applying paint to the piano. If you have many brushes and people onboard, assign everybody a section to paint. Use small brushes to reach small nooks and crannies. Once done, wait for the first coat of paint to dry.
3. When fully dry, continue applying layers of paint until you are happy with the results. The number of paint coats will vary depending on the paint you select. Nevertheless, plan on applying at least two layers of paint.
4. Wait for the paint job to fully dry before moving to the next step i.e. waxing. If possible, allow the paint to dry overnight.
Step #3 – Wax & Dry
1. Starting applying a good quality wax to the piano in a steady, circular buffing motion. For this purpose, you can use a clean lint-free cloth or a wax brush. Press firmly onto the piano’s surface as you smear the wax. Keep in mind that wax comes in different shades. For instance, if you want the piano to be a bit lighter, buy a lighter wax shade to subtly change the piano’s color.
2. Using a lint-free cloth, remove any excess wax to avoid clumping. Be sure to work quickly or else the wax clumps will harden and make it difficult for you to smooth them out.
3. Once you’re done waxing and smoothing, wait for the piano to dry.
4. For the final step, remove all the plastic coverings and painter’s tape from the piano.
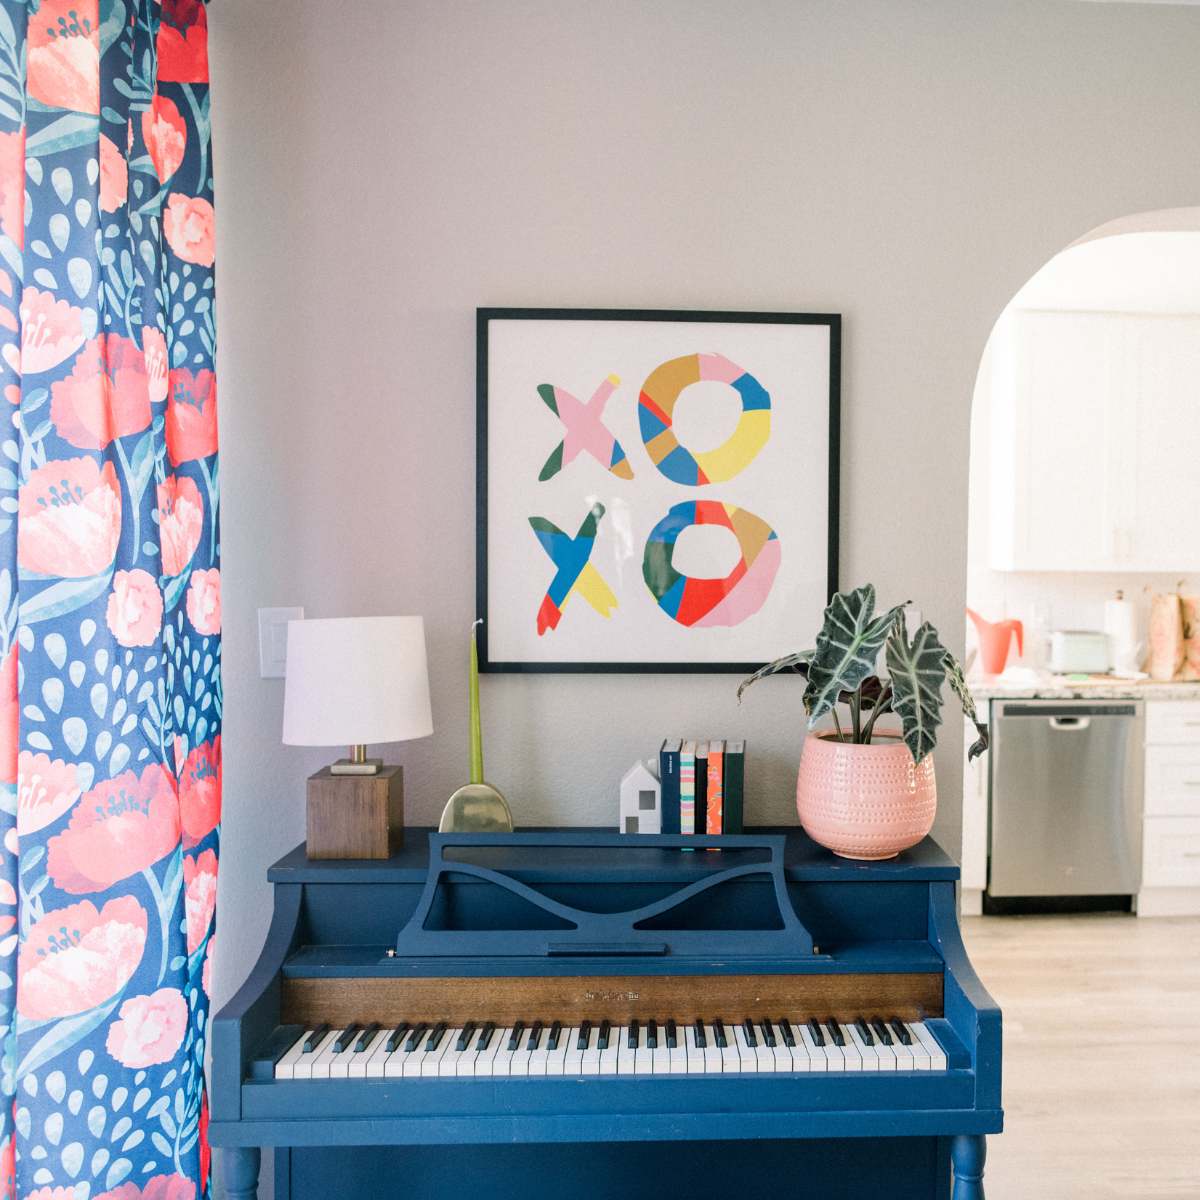
How To Style A Painted Piano
And tada! Your new, improved, DIY painted piano is ready for showoff!
Following these three steps will enable you to get the most out of your furniture piece and will also extend a new dimension to your living room’s style. Lucky for you, painting a piano isn’t very demanding. Just remember, like every furniture, the piano too benefits from regular maintenance and cleaning.
Once it is dry, I love using the top of our piano to hold coffee books, lamps and candles adding in a piece of art and hanging plants can be a great addition as well.
Let me know if you have any questions on this process and I’m excited about what else we can tackle updating this year.
If you’re searching for more useful lifestyle tutorials like this one, be sure to this fun Ikea pantry hack.